How to Collect a Stool Sample for an At-Home Gut Health Test
Before you collect a stool sample for an at-home gut health test, read the instructions supplied with your kit.
This guide provides a checklist to help you prepare, follow your kit’s collection steps, and check the return-shipping requirements. If any instruction is unclear, contact the test provider before collecting your sample.
This article is for educational purposes only and is not medical advice.
Quick Answer: How Do You Collect a Stool Sample at Home?
To collect a stool sample at home, follow your kit’s instructions for preparing the collection materials, collecting the sample, transferring the required amount into the supplied container, and sealing and labeling it.
Check the storage and return-shipping requirements before you begin. Do not assume that every kit uses the same sample amount, preservative, temperature, or shipping deadline. If anything is unclear, contact the provider before collecting or mailing your sample.
1. Read Your Kit’s Instructions Before You Begin
Read the full instruction sheet before opening the collection materials. Check whether you need to register the kit, complete a form, or prepare a return label before collecting your sample.
Identify the required sample amount, how to use any collection device or preservative, and the instructions for sealing, labeling, storing, and shipping the sample. Check the kit’s expiration date and contact the provider if anything is missing, damaged, or unclear.
If the instructions mention medicines, supplements, diet, or collection timing, ask the provider or your healthcare professional for clarification when needed. Do not stop prescribed medication on your own to prepare for the test.
2. Prepare Your Collection Materials and Shipping Plan
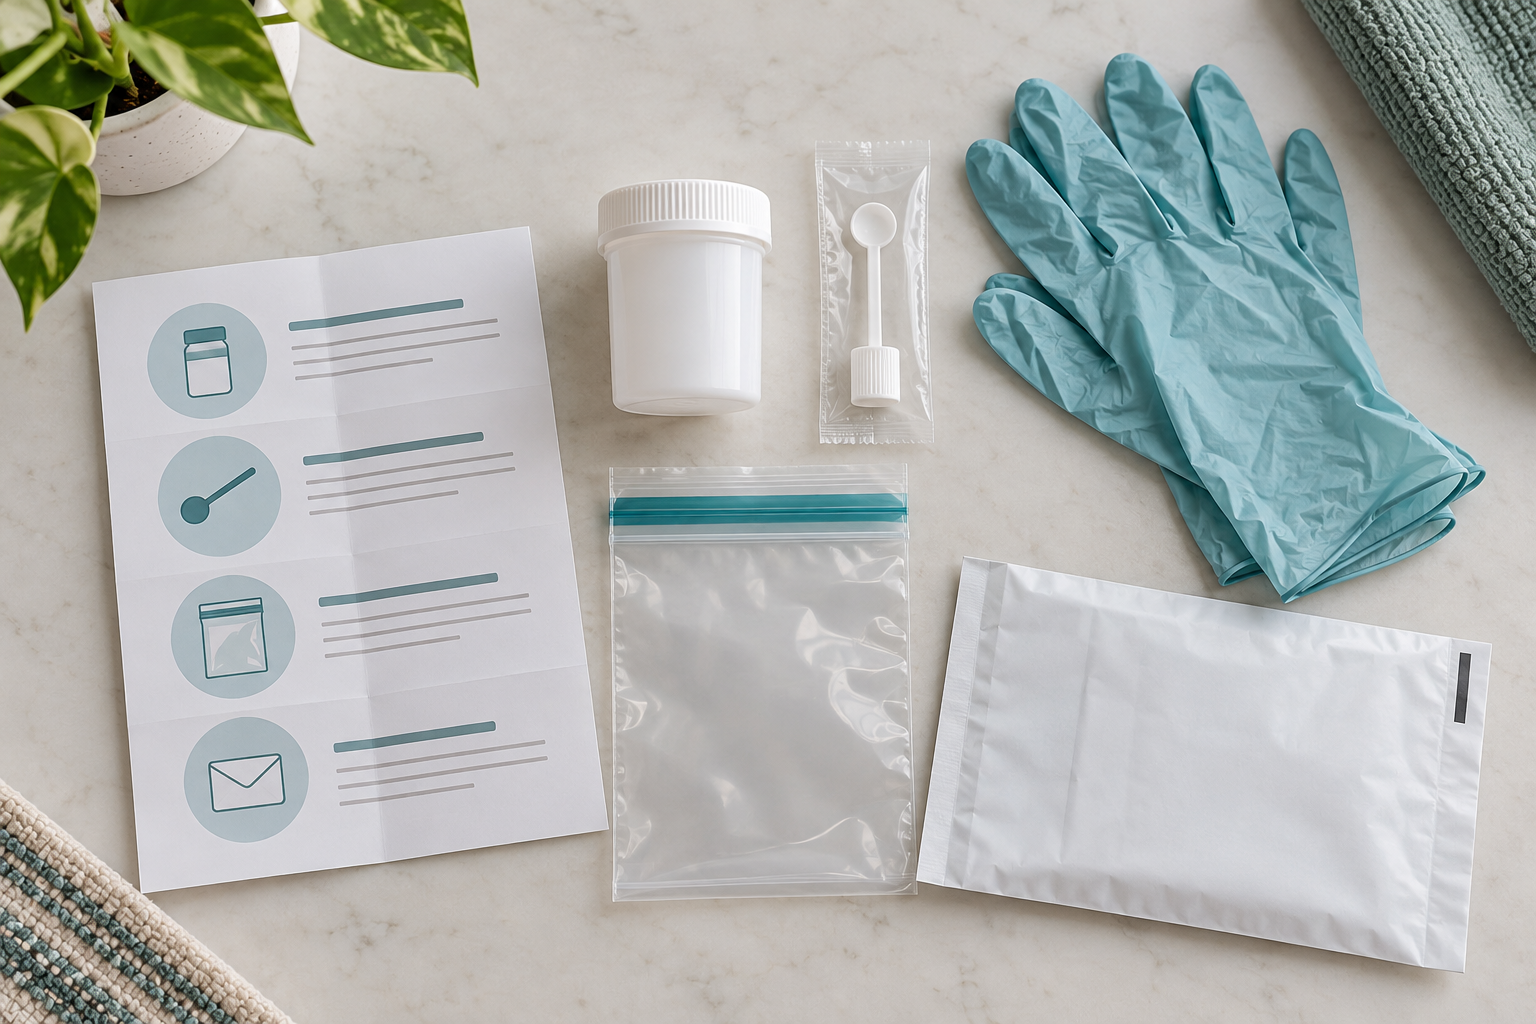
Gather the items listed in your kit’s instructions before you begin. These may include a collection device, sample container, labels, specimen bag, paperwork, and return packaging. Use the supplied materials as directed; do not substitute a household container unless the provider explicitly permits it.
Plan your return shipment in advance. Check the required carrier, drop-off location, collection-to-shipping deadline, and any restrictions around weekends or holidays. Make sure you have the correct return label for this test.
Also check how the sample must be stored between collection and shipping. Follow the kit’s directions rather than assuming it should be refrigerated, frozen, or kept at room temperature.
3. Collect and Transfer the Sample as Directed
Follow your kit’s directions for positioning and using the collection device. Review its precautions for keeping the sample free from urine, toilet water, cleaning products, or other contamination.
Use the supplied collection tool to transfer the amount specified in the instructions. Follow any fill line or measurement guidance; do not assume that more sample is better. If the container contains liquid or preservative, follow the directions for handling it and do not discard it unless instructed.
Close the container as directed and follow the kit’s cleanup and handwashing instructions. If contamination occurs, the container leaks, or you cannot collect the required amount, contact the provider for guidance before mailing the sample.
4. Label, Package, and Return Your Sample
Complete the sample label and any required paperwork exactly as instructed. Check which identifiers, collection date, and collection time are needed, and make sure they match your kit registration.
Place the sealed container in the supplied specimen bag and return packaging according to the kit’s directions. Include any required absorbent material or forms in their designated locations, and check that the package is securely closed.
Use the return label and carrier specified for your test, and send the sample within the stated deadline. Keep the tracking number if one is provided. If you miss the deadline or discover a packaging problem, contact the provider before shipping rather than assuming the sample can still be processed.
5. Common Collection and Shipping Mistakes to Avoid
- Using instructions from a different test kit instead of the directions supplied with yours.
- Collecting the sample before checking registration, labeling, and shipping requirements.
- Using a household container or collection tool without the provider’s permission.
- Ignoring precautions about urine, toilet water, or other contamination.
- Adding more or less sample than the instructions specify.
- Discarding preservative or changing storage conditions without instructions.
- Leaving required information off the sample label or paperwork.
- Using the wrong return label, carrier, or packaging.
- Mailing a delayed, leaking, or potentially contaminated sample without contacting the provider.
Before You Collect: A Quick Checklist
- I have read the instructions supplied with this specific kit.
- I have completed any required registration or forms.
- My collection materials are present, intact, and within their expiration date.
- I know the required sample amount and how to use the container and any preservative.
- I know which details to put on the sample label.
- I have checked the storage conditions and shipping deadline.
- I have the correct return packaging, label, and carrier information.
- I know how to contact the provider if collection or shipping does not go as planned.
Considering Kihealth? Confirm Your Kit’s Requirements
If you choose a Kihealth Gut Health Basic or Advanced test, use the instructions supplied with that specific kit. Confirm registration, sample collection, labeling, storage, and return-shipping requirements before you begin. Contact Kihealth support if the kit materials and online instructions appear to differ.
For an overview of the available options and their limitations, read our Kihealth Review. If you are still comparing test panels, our guide to at-home gut health tests explains what to check before.
Frequently Asked Questions
How much stool do I need to collect?
Collect the amount specified in your kit’s instructions. Some containers use a fill line, while others specify an amount to transfer with the supplied tool. Do not fill the container to the top unless instructed. If the amount is unclear or you cannot collect enough, contact the provider before mailing your sample.
Should I refrigerate my stool sample before shipping?
Follow the storage instructions supplied with your kit. Requirements can differ depending on the container, preservative, and laboratory analysis. Do not assume the sample should be refrigerated, frozen, or left at room temperature. If the instructions are missing or unclear, contact the provider before storing or shipping it.
What if my sample is contaminated or I miss the shipping deadline?
Contact the test provider before mailing the sample. Explain what happened, when it was collected, and how it has been stored. The provider can advise whether the laboratory can accept it or whether you need to collect a new sample. Do not assume that a delayed or contaminated sample is suitable for testing, and check whether replacement materials involve an extra charge.
Final Takeaway
To collect a stool sample for an at-home gut health test, follow the instructions supplied with your specific kit from preparation through return shipping. Check the sample amount, labeling requirements, storage conditions, and shipping deadline before you begin.
If collection or shipping does not go as planned, contact the provider before mailing the sample. Careful collection helps the laboratory receive a suitable specimen, but it does not remove the test’s limitations or replace professional interpretation of your results.
Sources
NHS — How to collect a sample of poo (stool sample)
Kihealth — Gut Health Basic Test
Kihealth — Gut Health Advanced Test
Affiliate disclosure: Wellness Test Guide may earn a commission if you purchase through affiliate links on this website, at no additional cost to you. Our Kihealth Review includes affiliate links. This general collection guide does not replace the instructions supplied with your test kit or advice from a qualified healthcare professional.

2 Comments